How it works
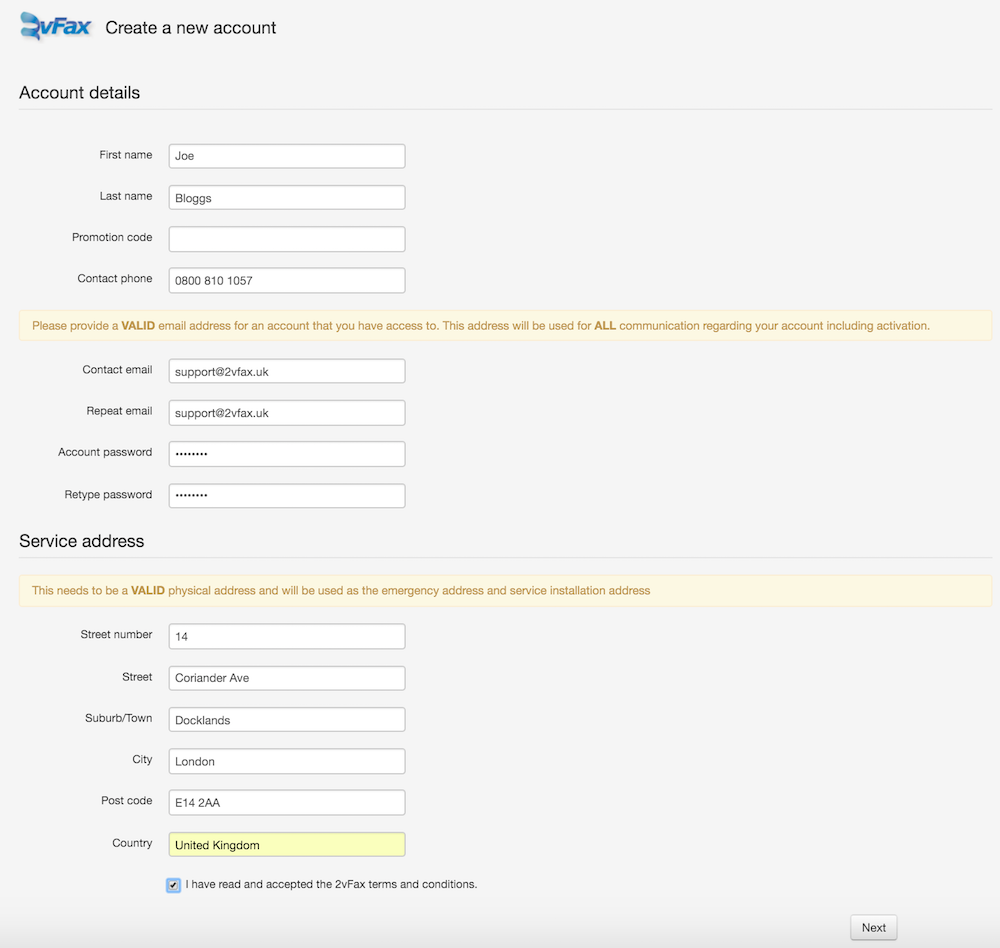
1. First, you need to signup!
- Click on Join at the top of this page
- Fill in the form with your details and submit
- Our team will receive your signup request and activate your account within 24 hours but usually much quicker than that!
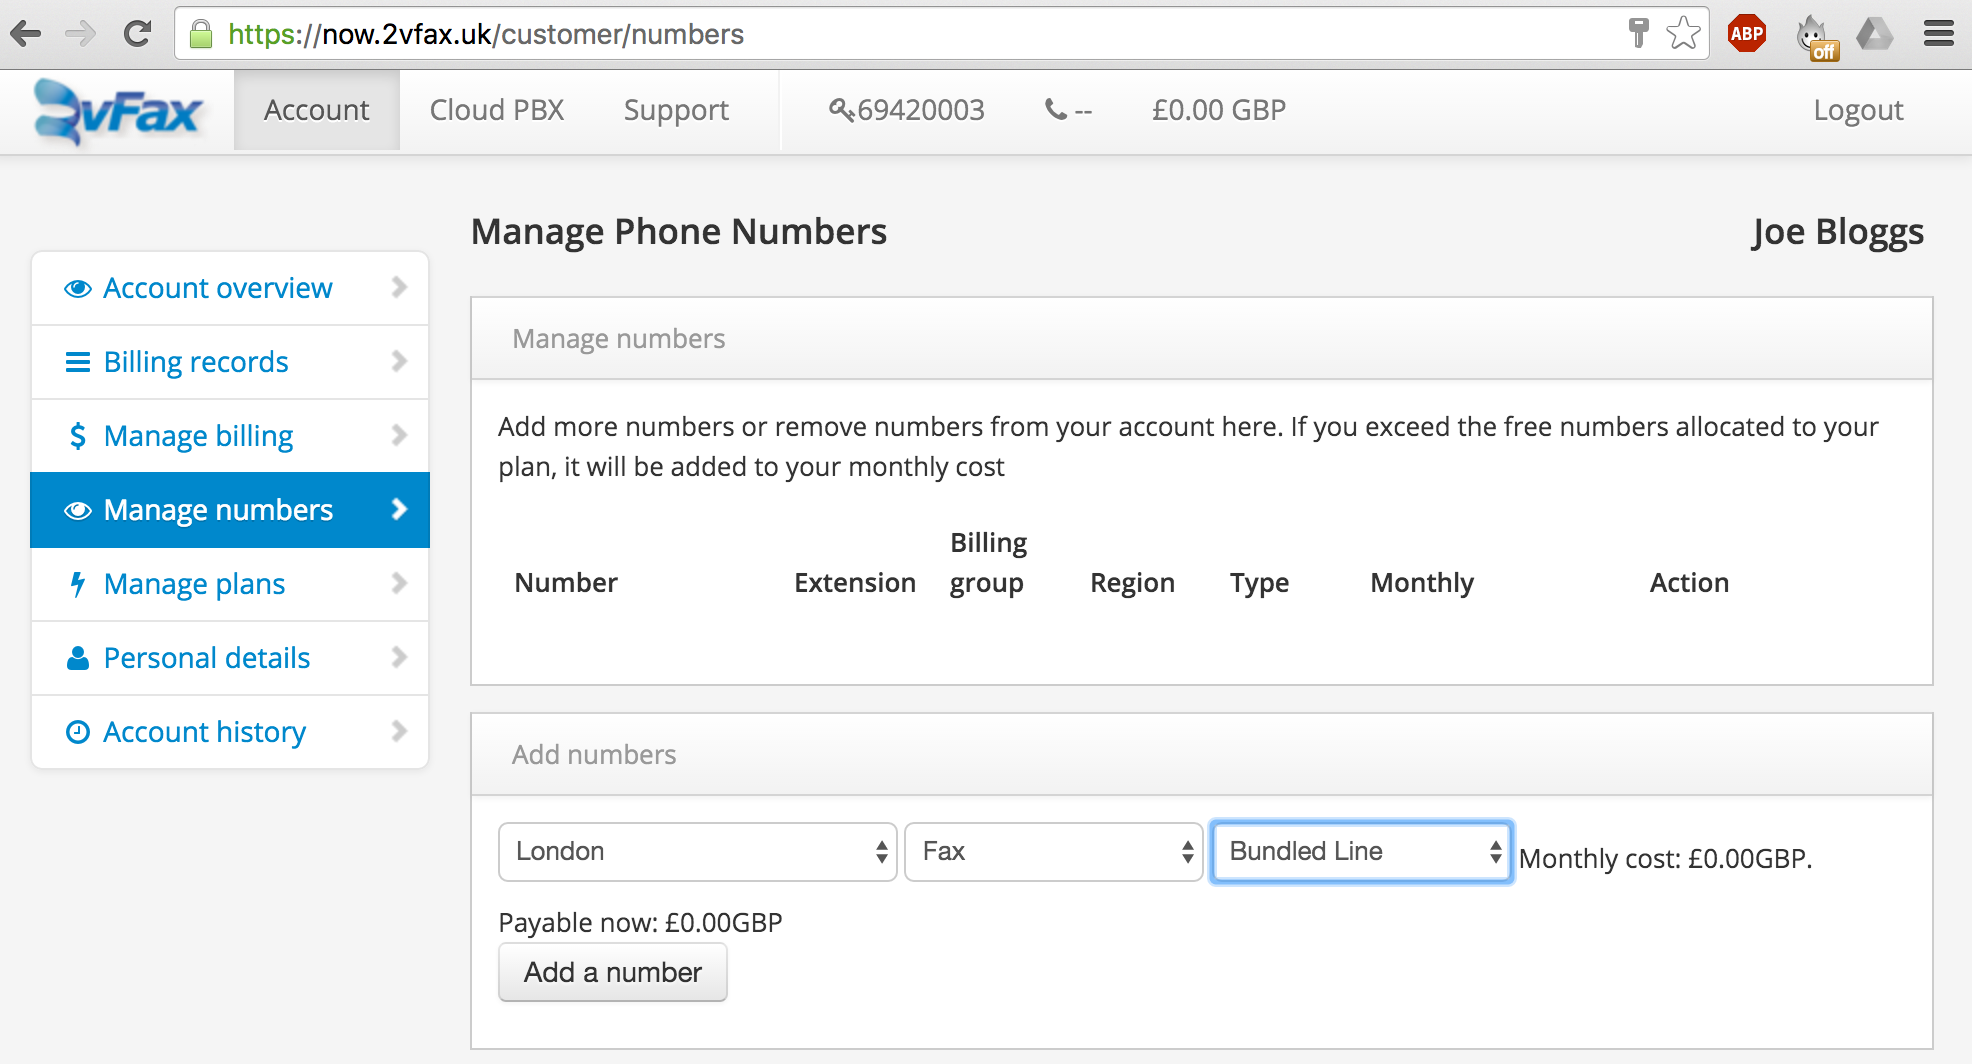
2. Login to your account and add a phone number
- Login to https://now.2vfax.uk, click on Account and 'Manage numbers'
- Select the phone number area you wish your fax number to be in. (e.g. London)
- If you wish to move an existing fax number to our service then email us at [email protected]
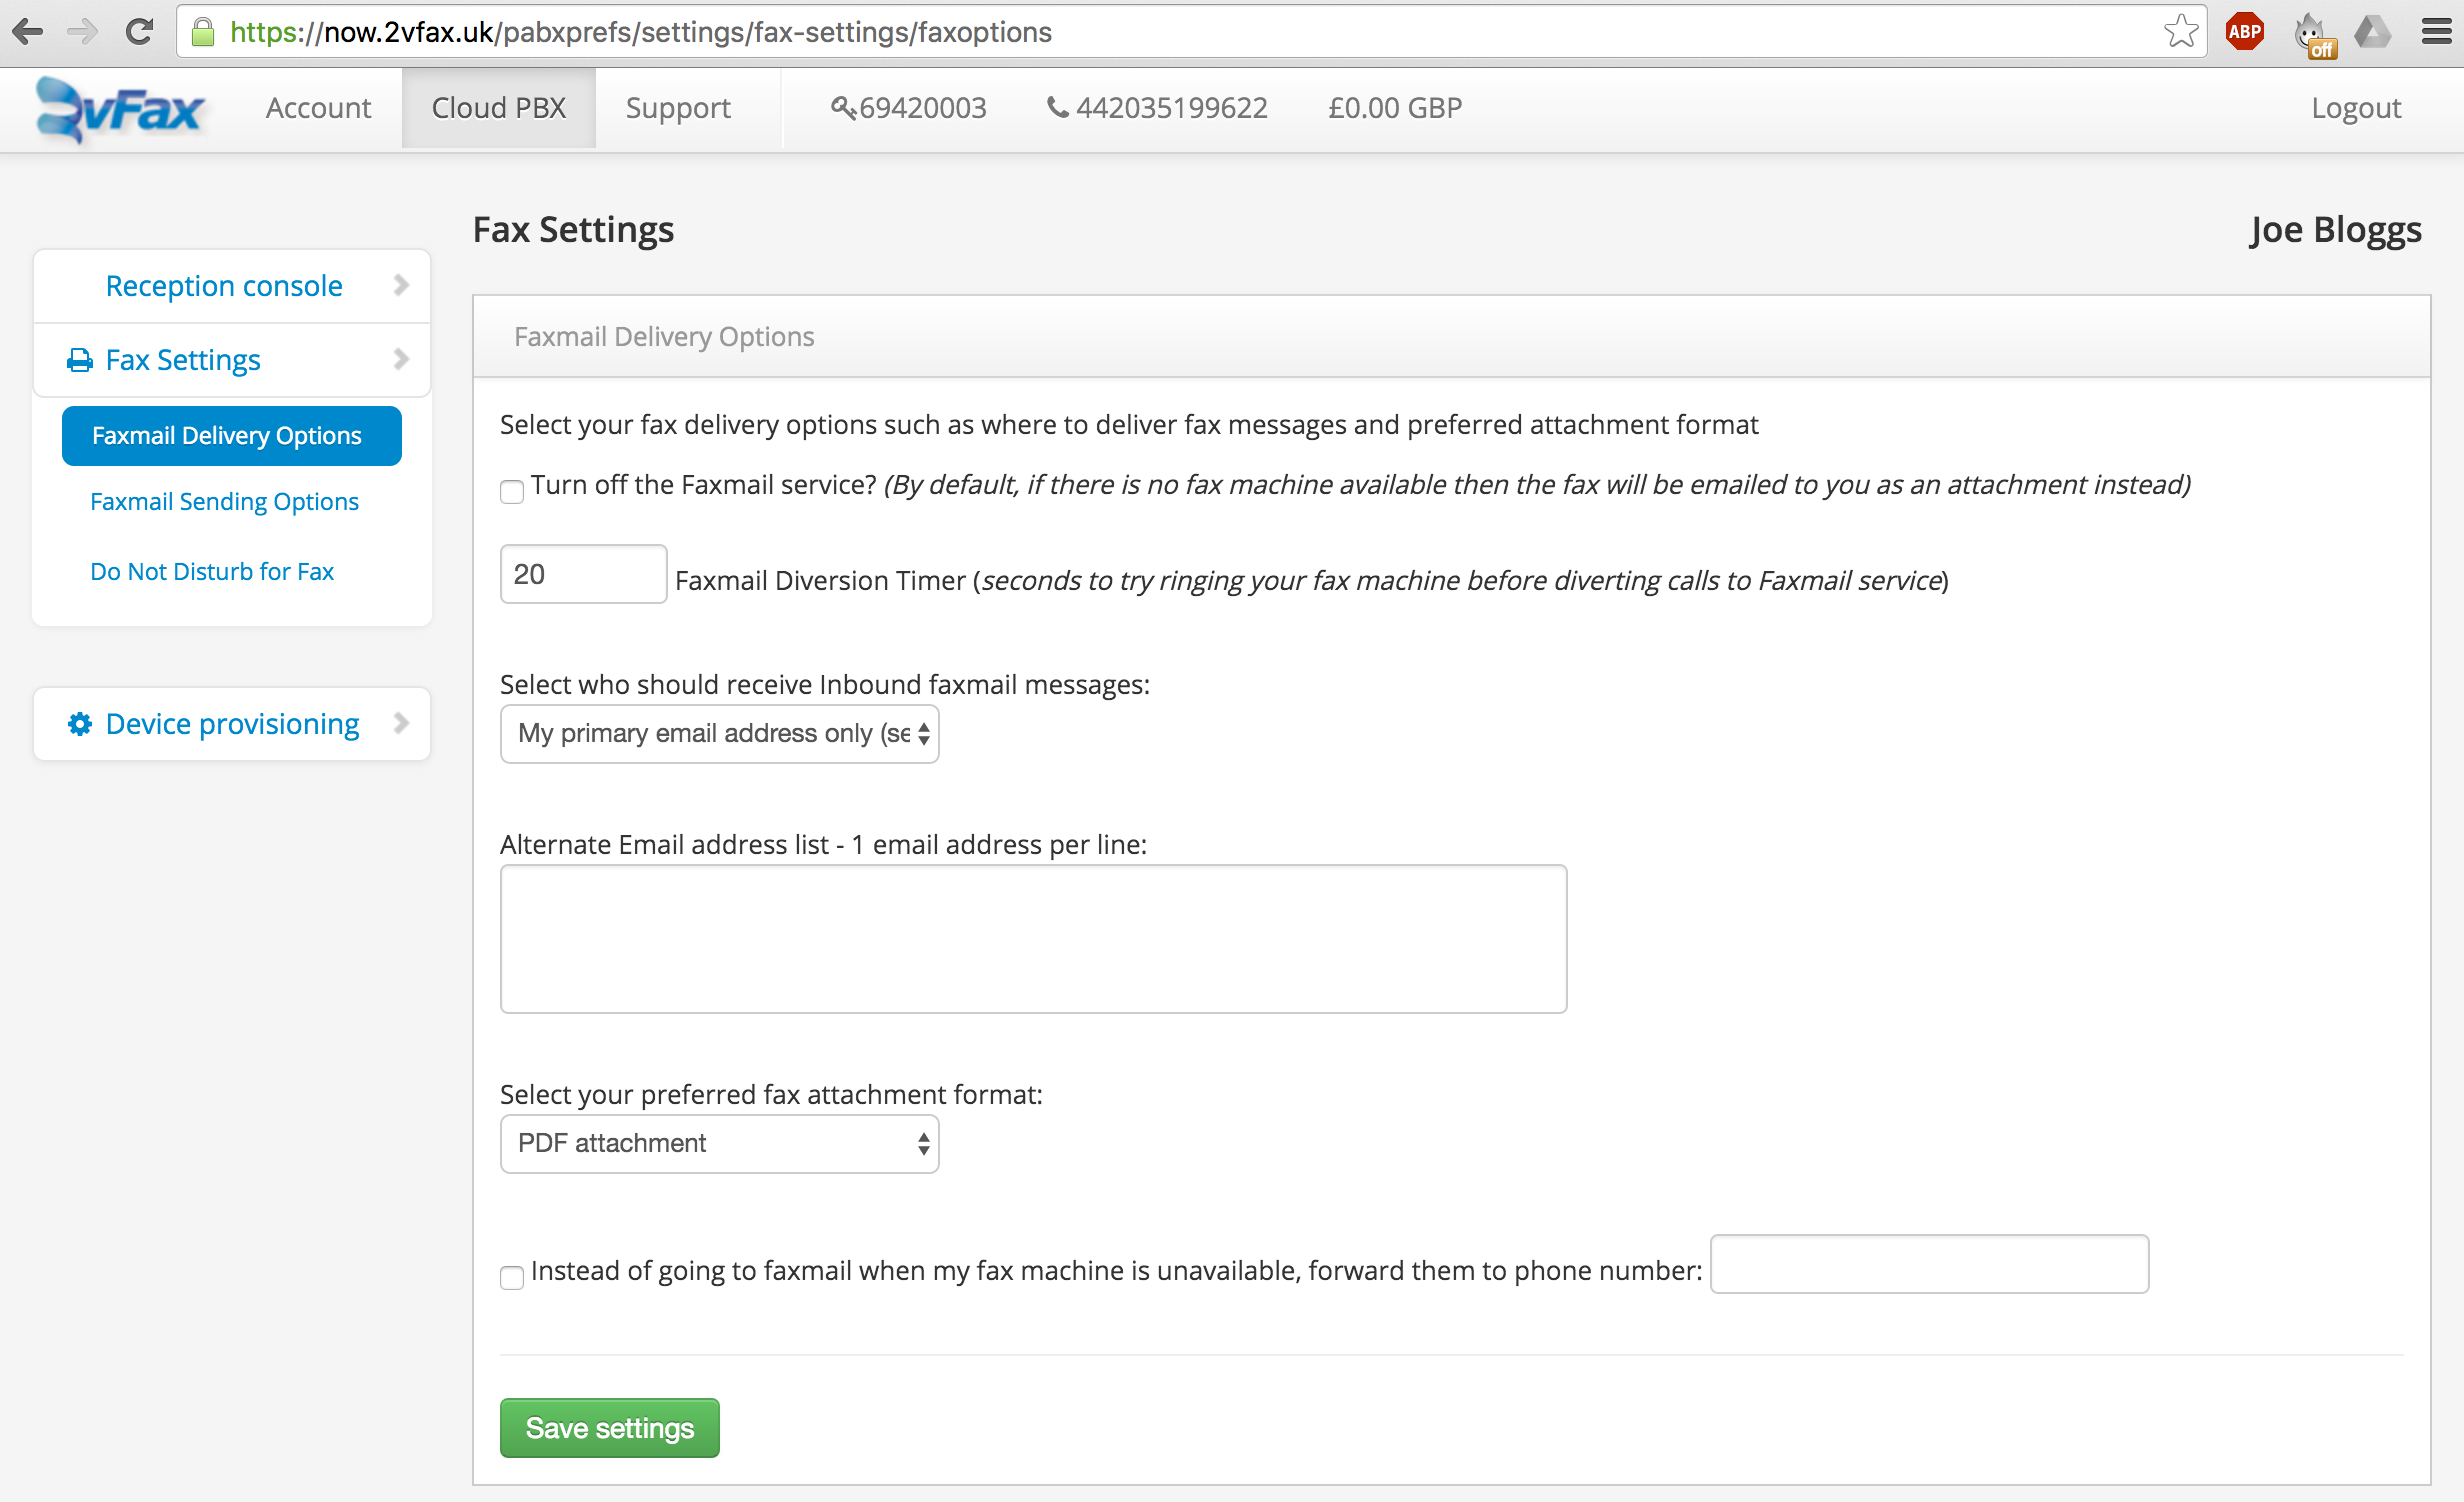
3. Configure your fax line settings
- Click on the 'Cloud PBX' tab, select your fax number and then open 'Fax Settings' configure your fax line.
- Click on 'Faxmail Delivery Options' to configure what happens when you receive a fax message
- Click on 'Faxmail Sending Options' to configure what happens when you send a fax message
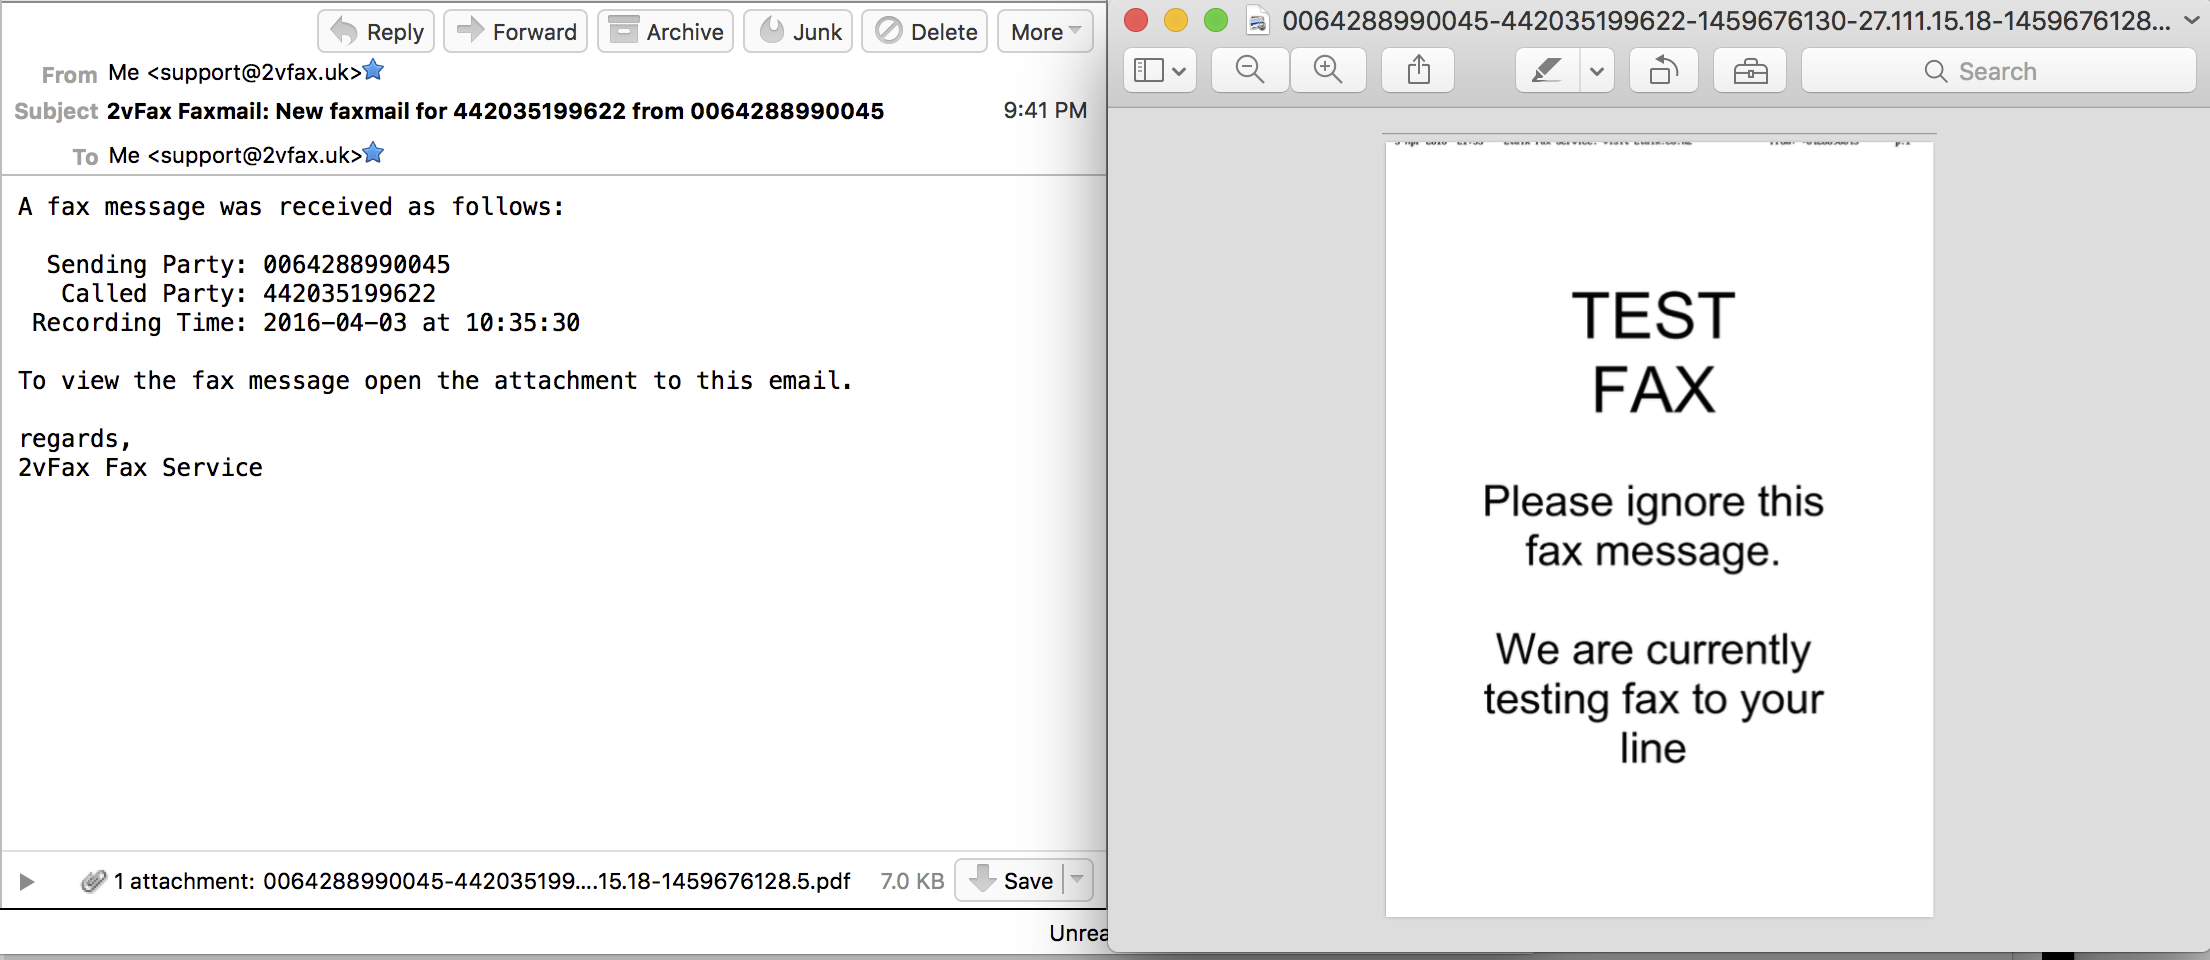
4. Receiving a Fax is as simple as checking your INBOX!
- Any incoming fax to your fax number will be simply emailed to you as a PDF attachment
- By default emails will go to the email address you entered when you signed up
- You can change which email address receives the faxes in the Cloud PBX 'Faxmail Delivery Options' settings
5. Sending a fax is as simple as sending an email!
- Using 2vFax to send and receive faxes could not be simpler. Everything is done using your email client either on your Desktop PC or your Tablet or Smartphone.
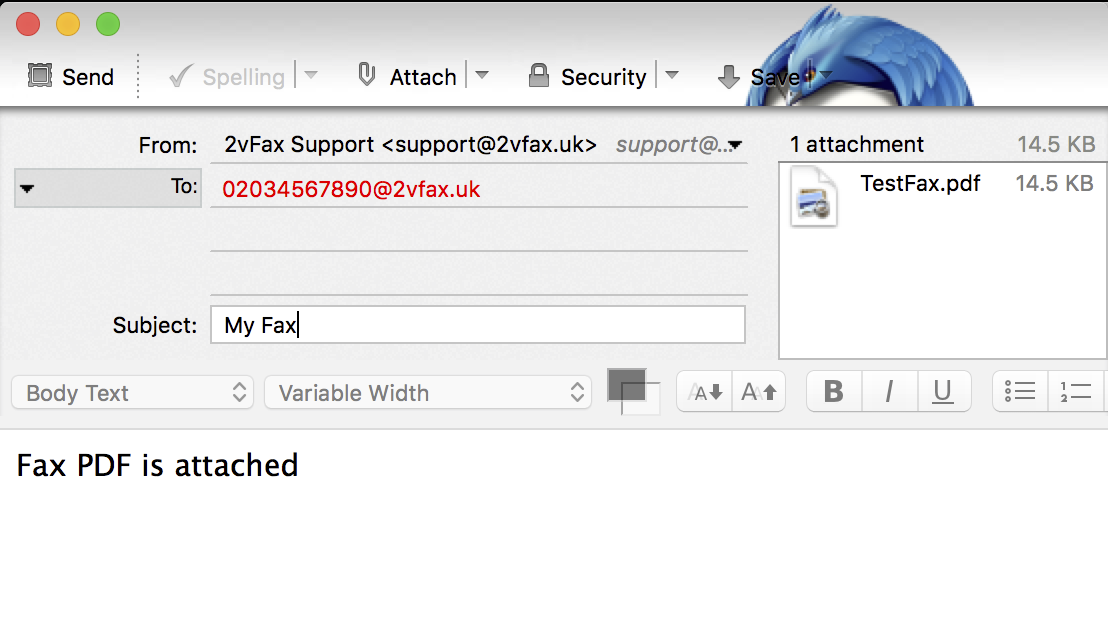
- In the 'To:' field of your email client simply enter the phone number you wish to send your fax to followed by '@2vfax.uk'. So, for example if you wanted to fax 02034567890, then enter '[email protected]'.
- Next, simply attach the document you wish to fax to your email. The document needs to be a PDF, TIFF or Postscript file format.
- Then press 'Send' and your fax will be sent. You will receive a confirmation email a few minutes later telling you if your fax was successful or failed for some reason.
NOTE: If your document is not in the correct format then you will need to convert it first to a PDF or Postscript file. This is usually very simple with most Applications giving you the option of Saving or Printing to a PDF or Postscript file when you print a document. Simply choose this option and then attach the resulting file to your email.
Copyright © 2016 l 2vfax.uk. All rights reserved.


